JumpCloud is an up and coming Cloud based user and computer management system, providing online LDAP and RADIUS authentication with bits of RMM and SSO. While JumpCloud has it’s quirks and can only manage local accounts, it can be an appropriate solution for small decentralized businesses that don’t have the need for a more traditional Active Directory domain. Additionally, as long as the machine has internet access, MFA, BitLocker, and remote wipe functionality can all help keep company or family data secure.
While it’s uncommon to see a need for a private Certificate Authority to be installed on a decentralized work force, there may still be the occasion where you have internal resources that you want to have a valid SSL certificate on but do not want to, or cannot, use a Let’s Encrypt certificate from the web.
In my case it makes my life a tiny bit easier to use pfSense to manage certificates and create a wildcard certificate for my local domain, giving me an easy to install option for local services not running through my web-accessible reverse proxy. For example, we use Paperless-NGX for document management and I would rather keep that as far away from the internet as possible.
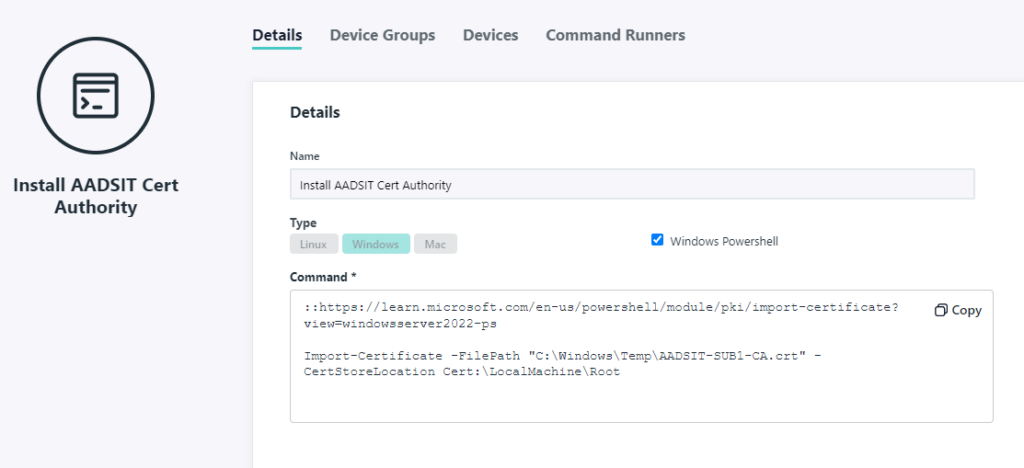
In JumpCloud, every two hours the following command runs:
::https://learn.microsoft.com/en-us/powershell/module/pki/import-certificate?view=windowsserver2022-ps

Import-Certificate -FilePath "C:\Windows\Temp\AADSIT-SUB1-CA.crt" -CertStoreLocation Cert:\LocalMachine\Root
You might notice, I make it a habit to start code with comments linking to any reference material used in case I need it again and Microsoft hasn’t broken the link yet.
This is configured as so, applied to all relevant device groups for my home:

JumpCloud allows you to upload files <1MB in size, a .crt is an easy task for this.

After manually running, we can check the results to confirm that the certificate installation exited with Powershell Code 0, or successful completion:

And indeed we can see this certificate authority is now in the Machine Certificates:

Now so long as we reach a server through DNS at the correct port we will have a valid certificate and no warning for our users:

If you’re pretty new to certificates and stumbled your way into here, please note that the DNS part is pretty important. If the server certificate says “I am xyz.local” but your browser is looking for “192.168.0.1”, they won’t match and you will get an warning unless the certificate has a matching Subject Alternative Name.
If you are interested but haven’t learned how to set up a certificate authority yet, there are a plenty of videos on YouTube that discuss the process. Find one that closely matches your setup; if you have an AD server then AD Certificate Services may be best for you, or if you have pfSense or opnSense you can use that. I believe you can also install the Certificate Services function in regular Windows 10 so there’s no hurdle too difficult to get over to start learning.
